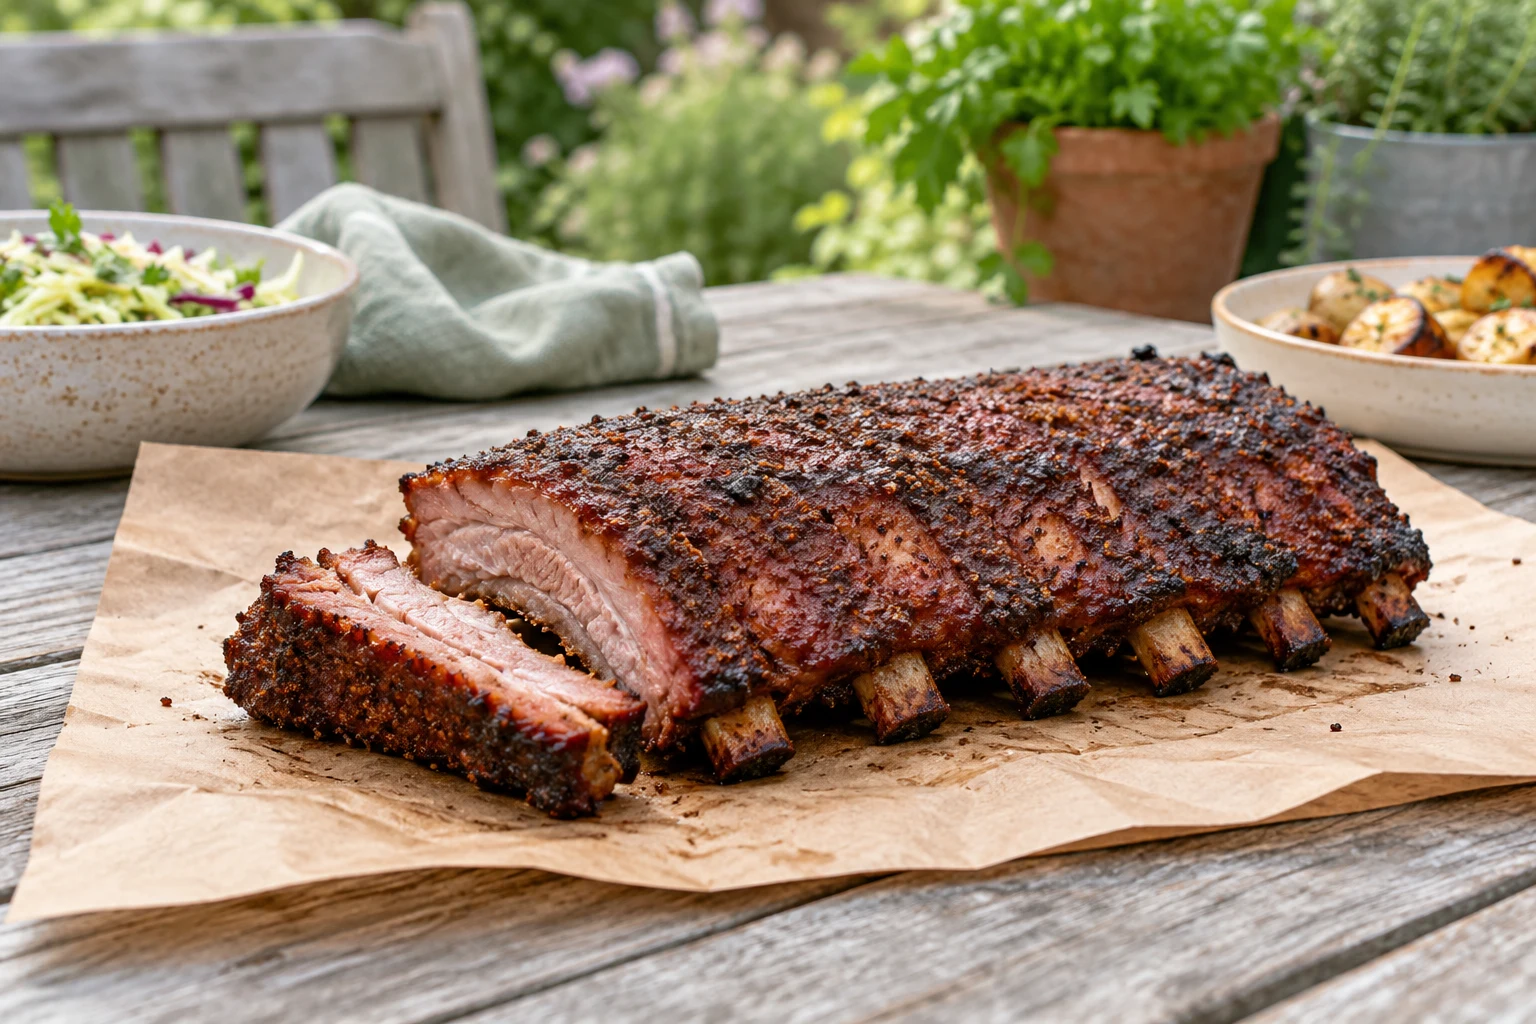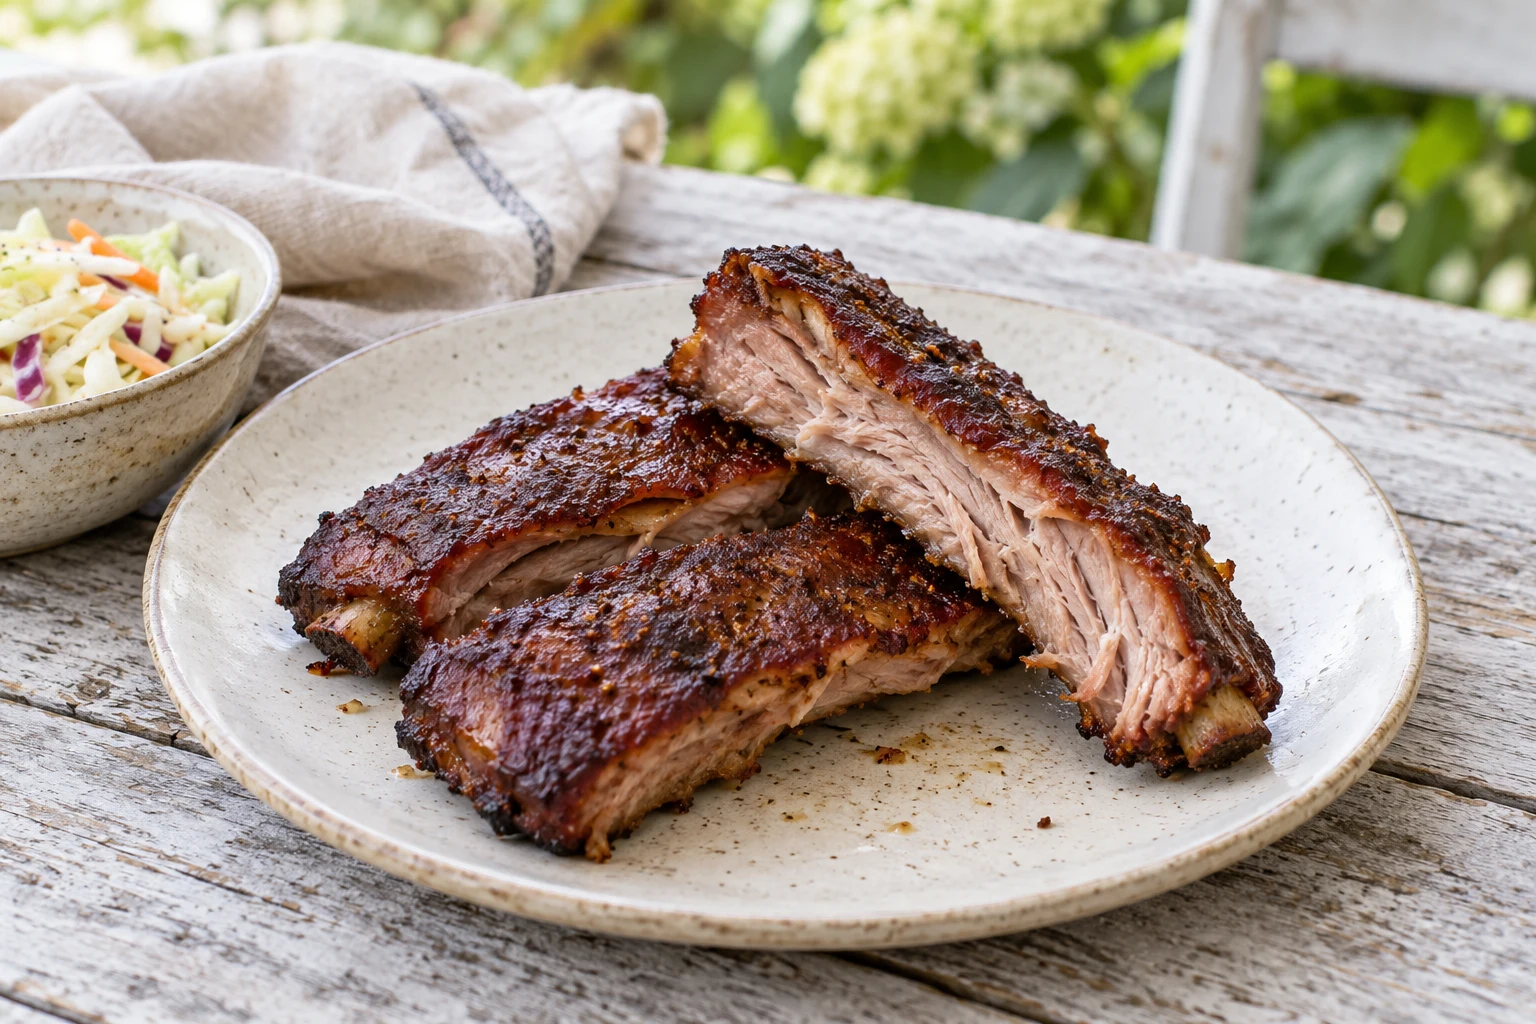
Smoking ribs is a timing problem disguised as a temperature problem. The cooker must stay steady enough for the meat to soften, but the ribs still need a surface that is not wet, burnt, or buried under sauce. A useful plan separates the work into four decisions: choose and trim the rack, build clean smoke, manage the cooking stages, and decide doneness by texture rather than by a slogan or a fixed clock.
Choose a rack that fits the cook
Baby back ribs are smaller and often cook sooner. Spare ribs are larger, meatier, and usually need more time to become tender. Neither is automatically better. Choose based on the number of people, the cooker space, and whether you want a shorter or longer fire-management session. Look for meat that is evenly distributed rather than a rack with one very thick end and a thin, exposed section.
Remove loose fragments and excess flaps that will dry before the main rack is ready. The membrane on the bone side can be removed when it is tough and intact enough to grip with a paper towel. If it is difficult to lift, make a small opening with a blunt knife rather than cutting deeply into the meat. Leaving the rack neat makes smoke and seasoning more even.
Salt the ribs early enough for the surface to season, then apply the rest of the rub according to the flavour you want. Sugar-heavy rubs can darken quickly at high heat. Keep the seasoning layer thin enough that you can still see the meat's surface. The rub is there to support the smoke and crust, not to turn the rack into a paste.
Build clean, controllable smoke
Start with a stable cooking fire before the ribs go on. The exact fuel depends on the cooker, but the principle is the same: the smoke should be light and clean rather than thick, acrid, and white. Give the fuel time to settle and use the vents or burner controls to establish a repeatable range. A cooker that swings wildly will make the outer surface dry before the connective tissue has softened.
Use wood sparingly. More smoke is not automatically more flavour, and a heavy smoke load can make the outside bitter. Add a small amount, watch how the cooker responds, and let the food spend time in a clean-smoke environment. Wind, cold weather, lid openings, and a crowded grate all affect the fire. Record those conditions if you want the next cook to be easier to predict.
Arrange the ribs so heat can circulate. Keep the thickest sections away from the hottest spot when possible, and leave a clear path for air. If the cooker has a known hot side, rotate the racks only when there is a reason; opening the lid costs heat and extends the cook. A thermometer at grate level is useful because the cooker display may not represent the temperature where the ribs sit.
Manage the first stage
The early stage is about smoke contact and surface development. Keep the lid closed long enough for the cooker to recover and the surface to dry. Spraying or mopping is optional, not a requirement. Liquid added too often can wash off seasoning, cool the surface, and create a cycle of opening the lid without improving the result.
Look for a surface that has taken on colour, the edges beginning to dry, and fat slowly rendering. Colour alone is not a doneness test. A dark rack can still be tough, while a lighter rack can be tender if the heat and time have been right. Avoid relying on a fixed “three-two-one” formula as though every rack, cooker, and temperature were identical. Treat common schedules as starting points, then use the meat's condition to adjust.
Wrap only for a reason
Wrapping can speed softening and protect the surface from further drying. It can also soften the bark and make the ribs taste steamed if too much liquid is added. If the rack is already dark enough and the surface feels dry before the connective tissue has relaxed, wrapping is a reasonable control. Use a tight wrap and return it to the cooker so the heat remains stable.
Unwrap when the texture is close to the result you want. If you sauce, do it late enough that the sauce can set without burning. A sweet sauce exposed to a very hot cooker can turn bitter quickly. The ribs should be supported when moved because the meat may be tender enough to separate from the bones.
Decide tenderness without destroying the rack
Ribs are ready when the meat gives the right resistance, not because a particular number of hours has passed. A probe should enter the thickest meaty area with little resistance, like pushing into softened butter but not through an empty gap. The rack should bend when lifted from one end, while the bones should not fall out simply because the rack was picked up.
Internal temperature can help you understand progress, but it is less decisive than texture for ribs. Probe several points and avoid touching bone. If the rack is still tight, return it to the cooker and check again later. If it is tender but the surface is already dark, use a cooler section or wrap it while it rests.
Food safety still matters during a long cook. Keep raw meat cold until preparation, keep utensils and trays separated from ready-to-eat food, and follow current official guidance for safe handling. The smoker is not a substitute for a thermometer when the food has been held, cooled, or reheated.
Rest, slice, and learn from the result
Rest the finished rack long enough for the surface heat to settle and the juices to stop rushing when it is cut. Slice between the bones with a sharp knife. If the ribs are chewy, the next change is usually more time at a stable heat rather than a thicker sauce. If they are dry, reduce exposure, improve fire stability, or choose a rack with more even meat. If the bark is bitter, reduce wood and improve the cleanliness of the smoke.
Write down the rack type, approximate weight, cooker temperature range, wood used, wrap decision, and texture at serving. That record is more useful than copying a popular schedule. Good smoked ribs come from understanding what the fire did to this rack, then changing one variable on the next cook.
Sources
- FoodSafety.gov Safe Minimum Internal Temperatures: https://www.foodsafety.gov/food-safety-charts/safe-minimum-internal-temperatures
- USDA FSIS Safe Temperature Chart: https://www.fsis.usda.gov/food-safety/safe-food-handling-and-preparation/food-safety-basics/safe-temperature-chart
- FoodSafety.gov How to Grill Safely: https://www.foodsafety.gov/blog/how-grill-safely-summer