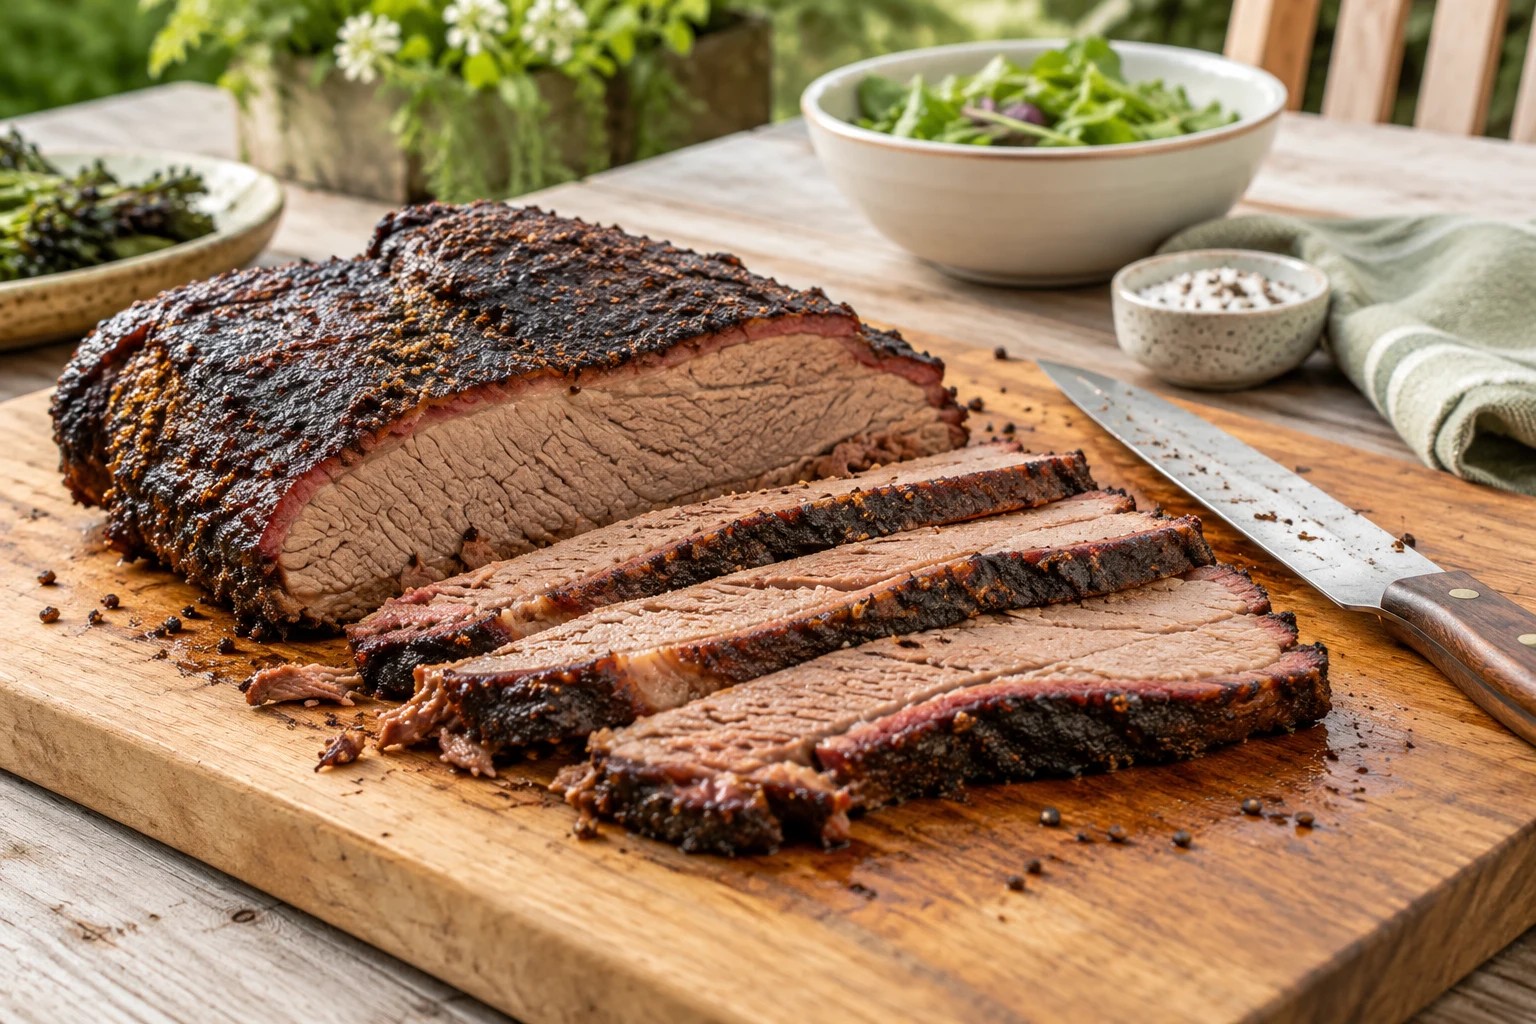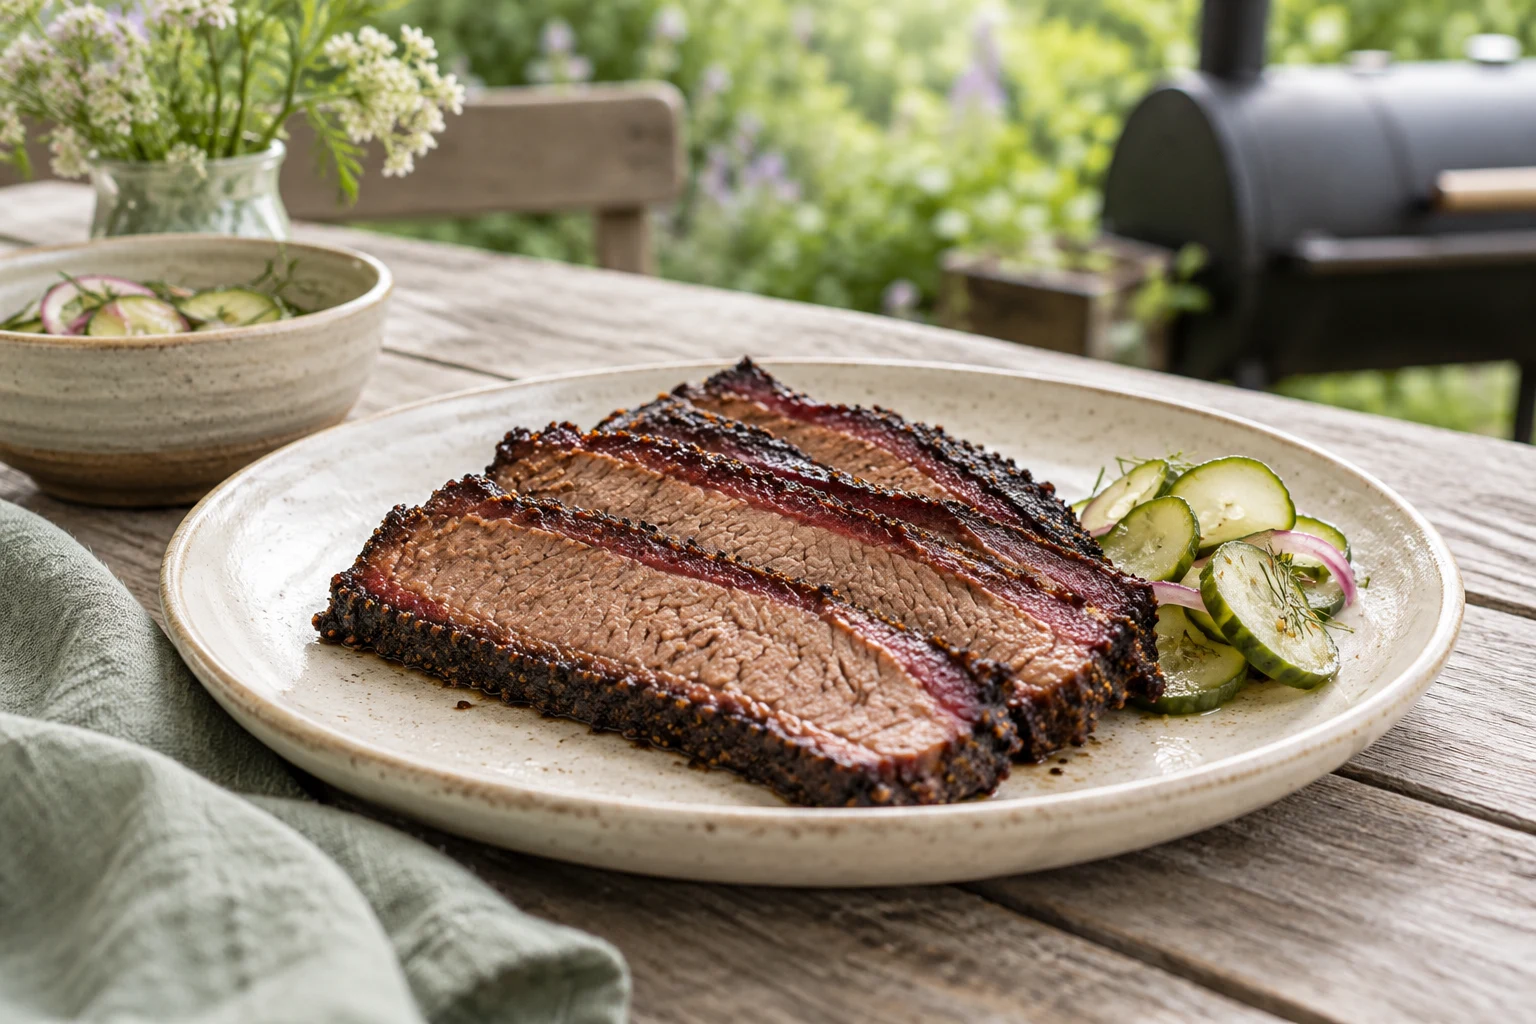
Brisket exposes every weakness in a fire plan. The cut is large, the thickness changes from end to end, and the cook can last long enough for weather and fuel to matter. A beginner does not need a famous timetable. The useful method is to choose a brisket that fits the cooker, establish clean smoke, protect the thin sections, and decide tenderness by probing the meat rather than obeying the clock.
Choose a manageable cut
A whole packer brisket needs space, fuel, and a long schedule. A flat is smaller and easier to fit, but it has less fat protection and can dry sooner. Choose according to the cooker and the number of people, not according to an idealised competition photograph. An uneven, very thin edge will finish before the thick centre, so plan to protect it or accept that the slices will have different textures.
Trim hard, waxy fat that will not render and remove loose flaps that can burn. Keep enough soft fat and meat to protect the surface. Trimming is not a race to make the cut perfectly smooth. It is preparation for more even cooking and easier slicing. Keep the raw brisket cold until the fire is ready, and use separate trays and tools for raw and cooked food.
Season simply enough to read the beef, smoke, and bark. A thick sugary rub can darken quickly, especially when the surface is exposed to direct heat. Apply a light, even layer and keep the brisket refrigerated while it rests. The seasoning should support the cut, not hide a fire problem.
Stabilise the cooker
Preheat the smoker and allow it to settle before adding the meat. Put a thermometer at grate level near the brisket because the lid display may sit over a different zone. Learn where the cooker runs hot. The thin end may need the cooler position while the thicker section faces the stronger heat.
Clean smoke should smell pleasant and light. Heavy white smoke can taste harsh and often indicates damp wood, insufficient oxygen, or too much wood added at once. Start with a modest amount of wood and wait for the fire to respond. Smoke is an ingredient, not a target cloud.
Make one fuel or vent adjustment at a time. A large correction followed by another large correction creates swings that dry the edges and extend the centre's work. Wind, cold weather, and a full cooker all change the response. Let the fire become stable before treating the display as useful information.
Develop the surface patiently
During the first stage, the brisket develops colour and a dry, seasoned surface. Keep the lid closed unless the food or fire requires attention. Spraying is optional; repeated spraying is not a substitute for stable heat. Each opening releases heat and changes airflow, while liquid cools the surface and can delay bark formation.
Colour is a clue, not a finish test. A dark brisket can still be tough, and a lighter one can still need time. Watch the surface for drying and set, the edges for excessive darkening, and the cooker for clean combustion. If the thin edge is racing ahead, move or shield it rather than raising the entire cooker.
Handle the slow middle
Large cuts often slow as moisture leaves the surface. This change is normal and does not automatically mean the cooker has failed. Raising the fire dramatically can burn the bark while leaving the centre unfinished. If the cooker is stable, allow the process to continue.
Wrapping is a control option. It can protect a dark surface and shorten the cook, but it changes the bark. Paper permits more surface drying than a tight foil wrap. Wrap when the surface is ready or when the edges need protection, not simply because a popular schedule says a certain number of hours has passed. Return the package to stable heat and avoid adding so much liquid that the brisket steams.
Decide tenderness with a probe
Temperature helps you know when to begin checking, but tenderness is the important finish signal. Probe several thick areas, including the centre of the flat and the thicker section, without pushing against bone or a fat seam. The probe should meet very little resistance. If the brisket is tight, continue at stable heat. If the exterior is ready but the centre is firm, protect the bark instead of increasing the fire.
Follow current official food-safety guidance for handling and temperature decisions. Smoking for many hours does not remove the need to keep the raw brisket chilled, prevent cross-contamination, and use a clean board after cooking. Plan a safe resting and holding period before the brisket goes on the cooker.
Rest and slice
Resting allows the centre heat to settle and makes slicing easier. Protect the cooked brisket from contamination and avoid holding it so hot that carryover cooking continues aggressively. Slice against the grain with a sharp knife. The grain may change direction between the flat and point, so inspect the cut rather than assuming the entire brisket runs one way.
If the brisket is tough, it usually needed more time at a stable heat, not more sauce. If it is dry, consider the size of the flat, temperature swings, thin-edge exposure, and resting method. If the bark is bitter, reduce the wood load and improve combustion. If the outside is ready while the centre is late, change heat placement and surface protection next time.
Keep a useful record
Write down the cut weight, trim, seasoning, fuel, cooker range, grate position, wood amount, wrap decision, probe feel, and resting time. The note does not need to be scientific; it needs to separate a fire problem from a cut problem. Change one variable on the next attempt.
Brisket becomes less intimidating when the cook asks practical questions: Is the smoke clean? Is the fire stable? Is the thin end protected? Does the probe meet resistance? Those answers are more reliable than copying a finish time created for another cooker, another brisket, and another day.
Sources
- FoodSafety.gov Safe Minimum Internal Temperatures: https://www.foodsafety.gov/food-safety-charts/safe-minimum-internal-temperatures
- USDA FSIS Leftovers and Food Safety: https://www.fsis.usda.gov/food-safety/safe-food-handling-and-preparation/food-safety-basics/leftovers-and-food-safety
- FoodSafety.gov How to Grill Safely: https://www.foodsafety.gov/blog/how-grill-safely-summer