A first grilling session should teach control, not impress a crowd. Choose one forgiving food, prepare the tools before lighting the fire, build a direct and indirect area, and use a thermometer for the final safety decision. The grill becomes less mysterious when the cook changes one variable at a time and writes down what the fire actually did.
Choose a simple first cook
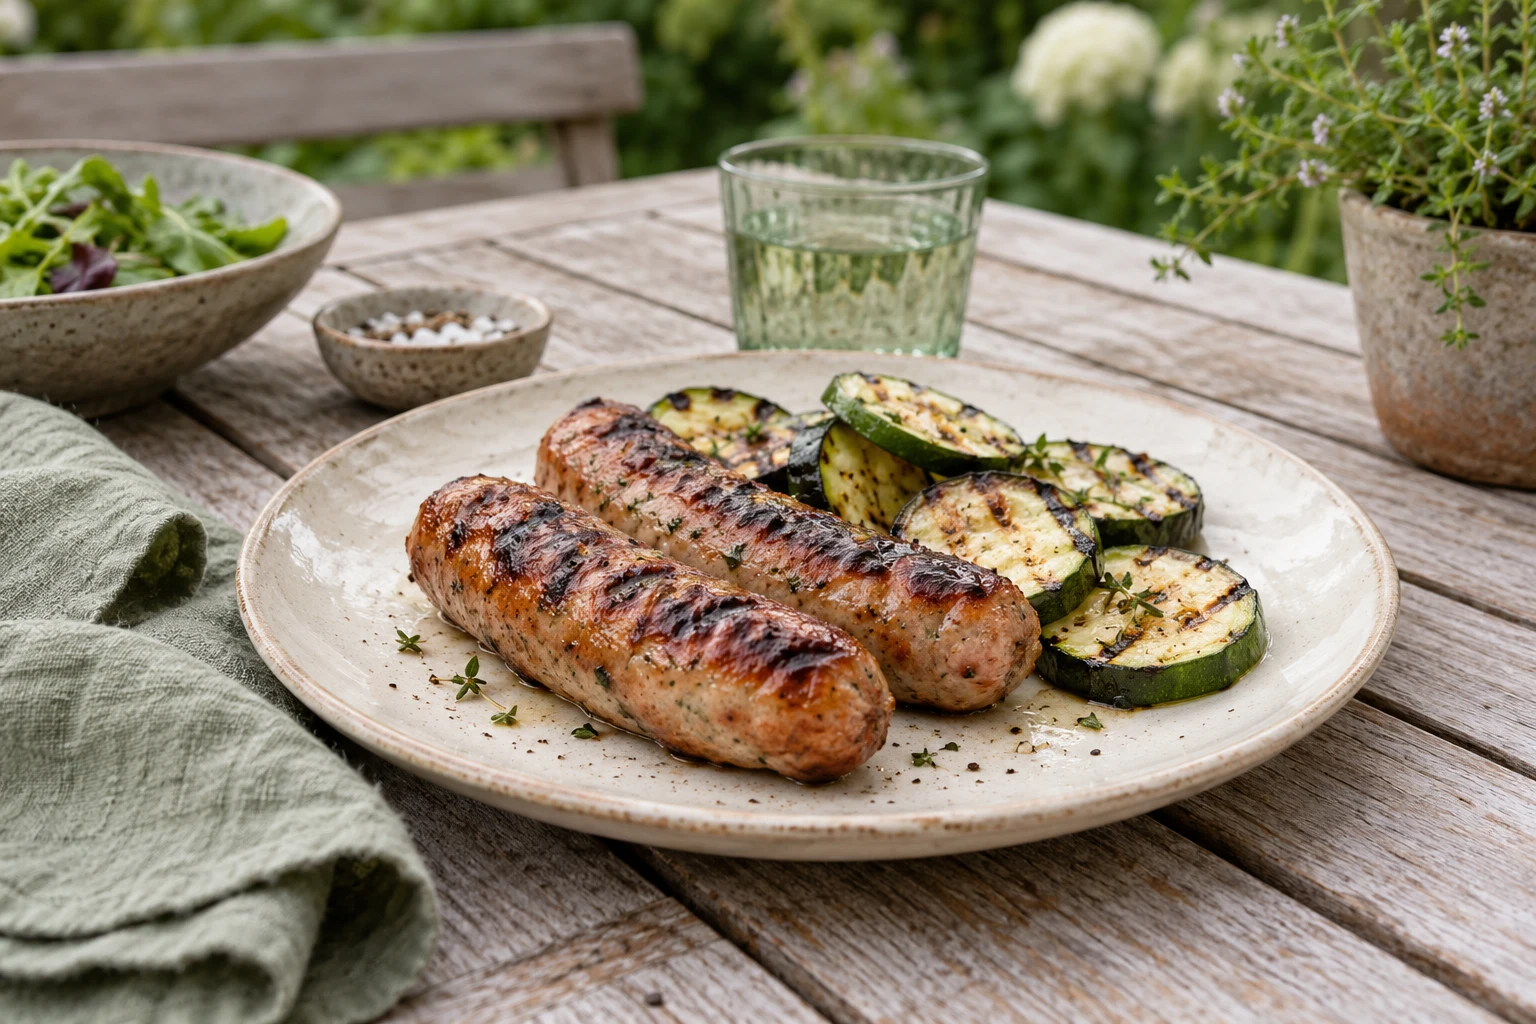
Pick food that fits the equipment and gives clear feedback. Burgers, chicken thighs, sausages, vegetables, or a few fish portions can teach heat placement without requiring a long overnight schedule. Avoid a large mixed menu where every item needs a different temperature and timing. A small successful cook is better practice than a crowded grill that never settles.
Decide how doneness will be checked before shopping. Buy or locate a food thermometer, prepare a clean platter, and choose sides that can be made ahead. If the first cook includes poultry or ground meat, do not rely on colour. Plan to check the thickest piece and keep raw and cooked tools separate.
Prepare the grill and location
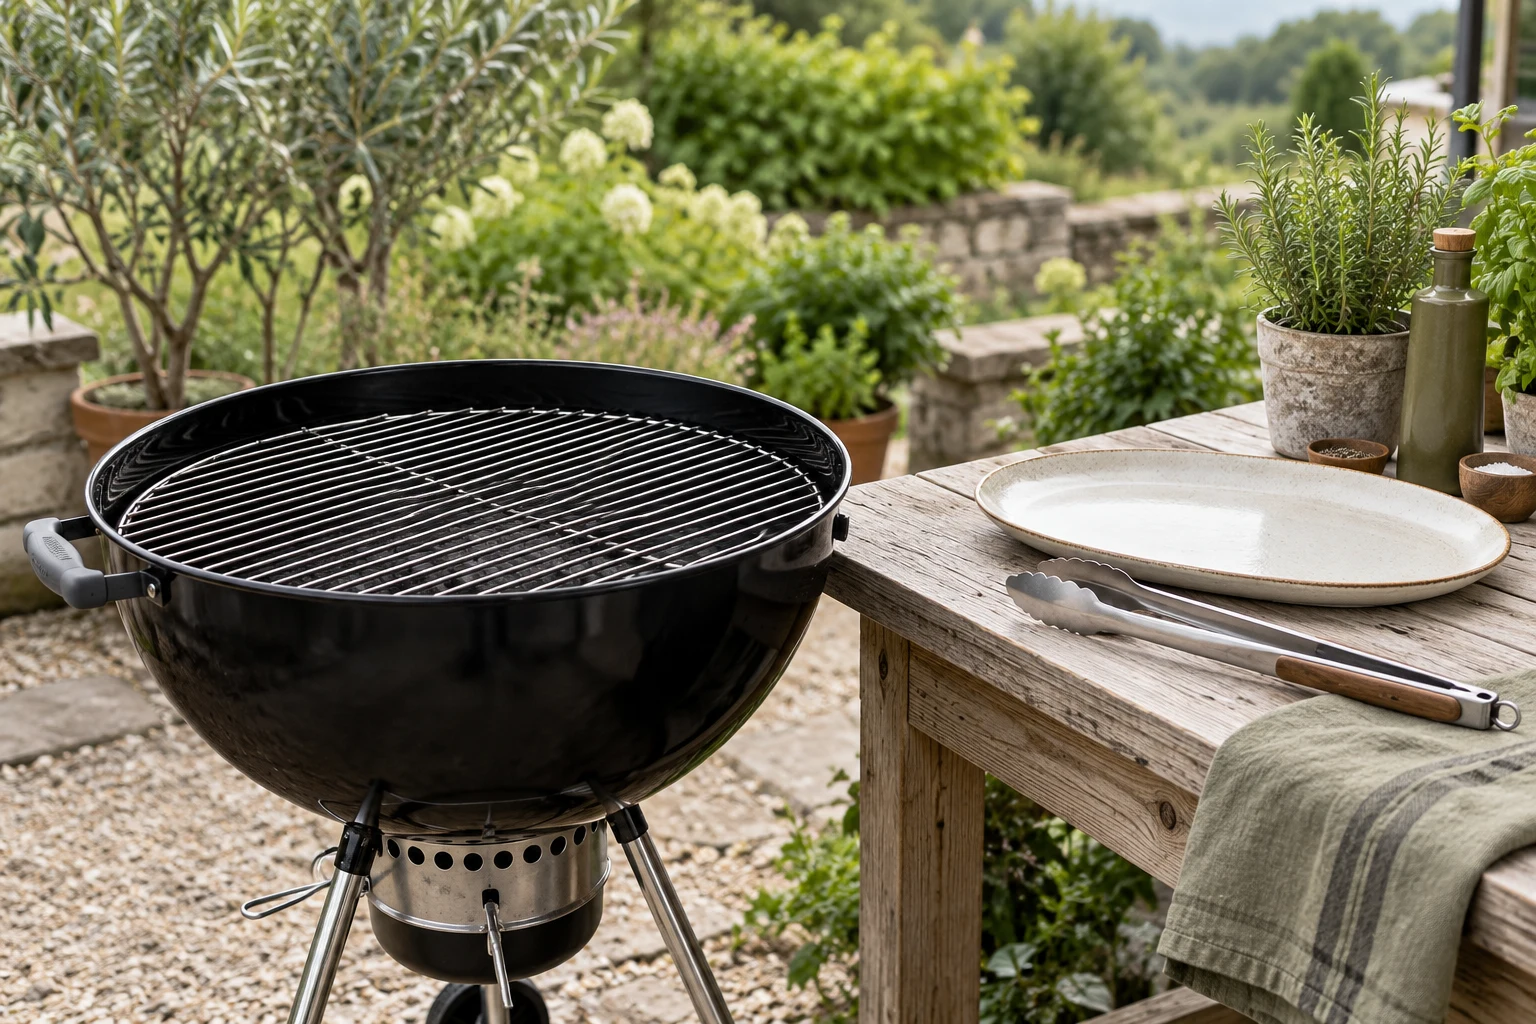
Set the grill outdoors on stable ground with clearance from buildings, railings, dry vegetation, and other combustible materials. Keep children and pets away from the working area. Check the grate, lid, vents, burners or charcoal, grease tray, fuel connections, tongs, spatula, gloves, and serving plates while everything is cold.
Keep raw food chilled until the fire is ready. Put sauces, buns, toppings, and sides in place before lighting. A clean layout prevents the common beginner mistake of walking away from a hot grill to find a tool or leaving raw meat on the table while the fire is being adjusted.
Preheat and build zones
Gas grills need time for the chamber and grate to heat. Charcoal needs time for the fuel to develop clean cooking heat rather than heavy starter fumes. Clean the grate after preheating with an appropriate tool. Build a direct side for browning and an indirect side for finishing, holding, and flare-up control.
Do not use the hottest possible setting for every food. Thin items may cook directly; thick chicken or fatty food needs a cooler route. Leave room between pieces so air can move and the cook can turn food without placing a hand over the fire. If the grill is too small, cook in waves.
Put food on deliberately
Dry the surface where browning matters and oil the food lightly rather than pouring oil onto the grate. Place food over the chosen zone and let it sit long enough for the surface to set. Turning too early tears the food and makes sticking worse. Do not press burgers or keep flipping simply because the fire is visible.
If the surface is browning before the centre is ready, move the food to indirect heat and close the lid. If fat creates flames, move away from the direct zone and control the fuel according to the equipment instructions. Never pour water onto burning grease.
Check safety and texture
Use a thermometer at the thickest part, avoiding bone and the grate. Follow current FoodSafety.gov and USDA FSIS guidance for the specific food. Colour, grill marks, and a fixed number of minutes are not enough for poultry, ground meat, or fish. Remove ready pieces to a clean platter and keep cooking the rest.
Texture still matters after safety. Vegetables should retain the structure you want. Fish should release before turning. Chicken should rest briefly after reaching the safe temperature. Thick foods may need more indirect time, while thin foods may need to be removed promptly to avoid drying.
Serve and clean up
Prepare serving plates before food finishes. Keep sauces and sides protected, and do not place cooked food on a raw-meat tray. Handle leftovers according to current official guidance. When the meal is finished, shut down gas or charcoal according to the equipment instructions and do not assume hot metal or ash is safe immediately.
Write down the fuel, preheat, zone layout, food thickness, turn point, temperature, and result. If the food burned, change heat placement or timing. If it was pale, improve drying or direct contact. If the grill lost heat, reduce lid openings and check fuel. A first cook becomes a method when the next attempt is based on one clear observation.
Do not add advanced techniques to solve ordinary uncertainty. If the grill is hot, move the food; if the centre is late, use indirect heat; if the fire is unstable, stop opening the lid and correct the fuel or burner. Simple responses build confidence because the result can be traced to a decision. Before serving, check the cooking area once more for raw trays, used tongs, and hot handles. Resetting the station is part of the first cook, not an optional extra after everyone has eaten.
The first session is also a chance to learn the equipment's limits. Notice how long the grate takes to recover after the lid opens, where the hot spot sits, and how much food the grill can hold without crowding. Those observations will make the second cook easier than adding a new recipe or accessory. Keep the notes simple: record the food thickness, starting temperature, grate position, and the moment you moved it. This creates a repeatable baseline for the next meal and helps separate a heat problem from a seasoning or timing problem.
Sources
- FoodSafety.gov Safe Minimum Internal Temperatures: https://www.foodsafety.gov/food-safety-charts/safe-minimum-internal-temperatures
- NFPA Grilling Safety: https://www.nfpa.org/education-and-research/home-fire-safety/grilling
- CDC Preventing Food Poisoning: https://www.cdc.gov/food-safety/prevention/index.html